
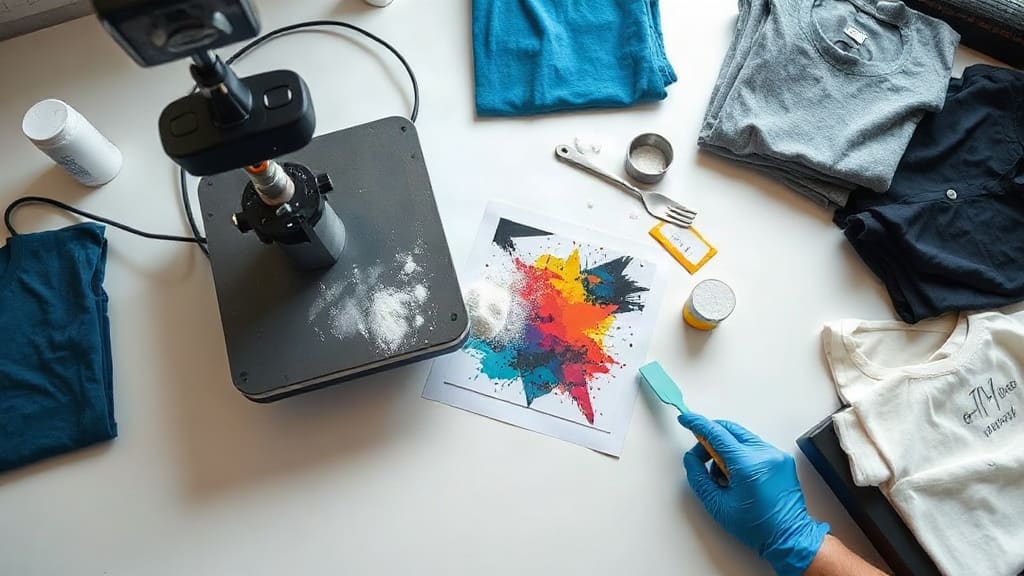
If you're exploring custom apparel decoration, you've likely heard about DTF transfers. This printing method has taken the industry by storm, offering a flexible and vibrant way to create custom garments without the heavy investment of screen printing. Whether you're a hobbyist with a heat press or a business owner looking to expand your product line, understanding the ins and outs of DTF transfers can be a game-changer. In this guide, I'll walk you through everything you need to know, from the technology behind it to practical tips for achieving perfect results.
What Are DTF Transfers?
DTF stands for Direct to Film. Unlike direct-to-garment (DTG) printing, where ink is applied directly onto the fabric, DTF involves printing your design onto a special PET film, applying adhesive powder, and then heat-pressing the film onto the garment. The result is a durable, stretchable print that works on a wide range of fabrics, including cotton, polyester, blends, and even leather.
The process might sound complex, but it's surprisingly approachable. You don't need a massive production setup; a desktop DTF printer, a heat press, and some consumables can get you started. Because DTF transfers can be produced in advance and stored, they offer incredible flexibility for both small batch and on-demand production.
Why Choose DTF Transfers?
There are several reasons why DTF transfers have become a favorite among decorators:
- Versatility: Works on almost any fabric type and color, including dark and light garments.
- Durability: Prints withstand repeated washing without cracking or fading.
- Softness: The ink layer is thin and flexible, resulting in a soft hand feel.
- Efficiency: You can print multiple designs in one run and press them as needed, reducing downtime.
- Low barrier to entry: Compared to screen printing, the upfront cost is relatively low.
For startups and small businesses, this method allows you to test designs without committing to large inventories. Imagine printing a few transfers of a new design, pressing them onto shirts, and seeing if they sell before you scale up.
Essential Equipment for DTF Transfers
Before you dive into your first project, you'll need some basic equipment. Here's what I recommend:
1. DTF Printer
The heart of the operation is a printer that can handle DTF inks. You can convert an Epson or use a dedicated DTF printer. Look for models with a CMYK plus white ink setup, as white is crucial for printing on dark garments. While professional machines can cost thousands of dollars, budget-friendly options exist for beginners.
2. PET Film
This is the special film that receives your printed design. It has a coating that helps the ink adhere and release properly. You'll need both regular and matte films depending on your printer's requirements. Some films are designed specifically for cold-peel or hot-peel processes.
3. Adhesive Powder
After printing, you'll sprinkle a hot-melt adhesive powder over the wet ink. This powder is what bonds the film to the fabric during pressing. There are different types, such as fine powder for smooth surfaces and coarse powder for textured materials like fleece.
4. Heat Press
A reliable heat press is essential. While you can use a clamshell or swing-away model, ensure it can reach temperatures around 320°F (160°C) and apply even pressure. I've seen many beginners struggle because their cheap press didn't heat evenly, resulting in uneven transfers.
5. Drying Oven or Curing Unit (Optional)
Once the powder is applied, it needs to be melted to create a solid adhesive layer. Some setups use a separate drying oven, but many home-based businesses use a heat press with a Teflon sheet to melt the powder. If you're doing high volumes, an oven will speed up your workflow.
The Step-by-Step DTF Transfer Process
Let's walk through the entire process from start to finish. I'll share tips I've learned from my own trial and error.
Step 1: Design Your Artwork
Create or choose a design with your graphic software. Remember that DTF printing requires a white ink layer for colors to pop on dark fabrics. Your design software should support layers so you can separate the white base. If you're using a service like Canva, you might need to learn how to create cutouts or use transparent backgrounds.
Pro tip: Always preview your design in a white-background simulation to ensure the colors look right.
Step 2: Print onto PET Film
Load the PET film into your printer (make sure it's the correct side up). Print your design with the CMYK and white layers. The white ink is typically printed first, then the colors, but this can vary. Follow your printer's software settings. The ink needs to be completely dry before applying powder.
Step 3: Apply Adhesive Powder
Evenly cover the printed area with adhesive powder. You can use a shaker bottle or a powder applicator. Be generous but not excessive; you need a thin, even layer. Then, remove the excess powder by gently tapping the film or using a vibration system. I find that a soft brush helps to spread the powder without disturbing the ink.
Step 4: Melt the Powder
Place the film on a heat-safe surface and apply heat to melt the powder. You can use a heat press at around 320°F (160°C) for about 15-20 seconds, or use a dedicated oven. This step turns the powder into a tacky adhesive layer that will bond with the fabric. Be careful not to overheat, as it can cause the film to wrinkle.
Step 5: Press Transfer onto Garment
Pre-press your garment for a few seconds to remove wrinkles and moisture. Place the transfer (film side up) onto the garment. Use a Teflon sheet to protect the film. Press with your heat press at 320°F (160°C) with medium to firm pressure for about 15-20 seconds. The exact time and temperature depend on your specific transfer type and garment material.
Step 6: Peel the Film
After pressing, you have two options: hot peel or cold peel. Check your film's instructions. Typically, DTF transfers are cold peel, meaning you let the film cool completely before peeling. If you peel hot, you risk pulling up the ink. Once cool, slowly peel the film away at a 45-degree angle to reveal your vibrant print.
Common Mistakes and How to Avoid Them
Even experienced printers make mistakes. Here are the most common pitfalls I've encountered and how to sidestep them:
- Skipping the pre-press: Always pre-press your garment to remove moisture and wrinkles. Otherwise, your transfer might not adhere perfectly.
- Insufficient powder: If you don't apply enough adhesive powder, the transfer will peel off after a few washes. Make sure the entire design is covered.
- Overheating: Too much heat can cause the film to melt or the adhesive to bubble. Always test on scrap fabric first.
- Using the wrong film side: PET film has a shiny and a matte side. Printing on the wrong side leads to ink smearing or poor adhesion.
- Not aligning properly: Use alignment guides or a ruler to place your transfer accurately, especially for multi-color designs.
Tips for Flawless DTF Prints
To elevate your DTF transfer game, consider these expert tips:
- Use a heat press with digital controls to maintain consistent temperature and pressure.
- Invest in good quality PET film; cheap films might cause cracking or poor release.
- Store your transfers in a cool, dry place to prevent them from sticking together.
- Test on the actual fabric you plan to use, as different materials react differently to heat and pressure.
- Experiment with different peel temperatures to find what works best for your setup.
- Keep your printer heads clean to avoid streaks or banding in your prints.
When you first start, don't be discouraged if your initial attempts aren't perfect. Like any skill, mastering DTF transfers takes practice. I recommend keeping a notebook to record your settings and results for different fabrics and designs.
DTF Transfers vs. Other Methods
You might be wondering how DTF compares to alternatives like sublimation or vinyl. Here's my take:
- Sublimation: Works only on polyester and light-colored fabrics. DTF is more versatile.
- Heat transfer vinyl (HTV): Great for solid shapes and lettering, but multi-color designs require layering, which is time-consuming. DTF handles complex designs in one go.
- Screen printing: Excellent for bulk orders but has a high setup cost. DTF is more economical for smaller quantities.
For a startup, DTF offers an affordable way to produce high-quality, full-color prints without the steep learning curve of screen printing. And because you can print on demand, you reduce waste and storage costs.
Frequently Asked Questions
How many washes can a DTF transfer withstand?
High-quality DTF transfers can last for 100 or more wash cycles if applied correctly. To maximize longevity, wash garments inside out in cold water and avoid using bleach or fabric softeners. Air drying is gentler than machine drying.
Can I use DTF transfers on 100% cotton shirts?
Yes, DTF transfers work beautifully on 100% cotton. In fact, cotton is one of the best fabrics for DTF because it provides a smooth, absorbent surface. You'll get vibrant colors and a soft feel. Just make sure your heat press temperature and time are within the recommended range for cotton.
What is the shelf life of printed DTF transfers?
If stored properly in a cool, dry environment away from direct sunlight, printed DTF transfers can last for months without losing quality. Keep them flat or rolled in a protective tube to prevent creases. Avoid high humidity, as it can cause the adhesive to become less effective.
Do I need a special printer for DTF transfers?
Yes, you need a printer that is compatible with DTF inks and films. While some standard Epson printers can be converted, it's often more reliable to use a dedicated DTF printer that comes with the necessary software and support. These are designed to handle the thicker white ink and maintain consistent print quality.
Can I use DTF transfers on dark and light colored garments?
Absolutely. One of the biggest advantages of DTF is its ability to print on both dark and light fabrics. The white ink layer ensures that colors appear vibrant even on black shirts. Just ensure your print settings include white ink for dark garments, and adjust your design accordingly.
Final Thoughts
Jumping into the world of DTF transfers can be both exciting and overwhelming. But with the right equipment, a bit of practice, and the tips I've shared, you'll be producing professional-quality prints in no time. Remember, the key is to start simple, test thoroughly, and gradually expand your capabilities.
The versatility and affordability of this method make it an excellent choice for anyone looking to start a custom apparel brand or add a new service to their existing business. So go ahead, order some film and powder, and create your first transfer today. Your future customers will love the quality and durability of your prints.