
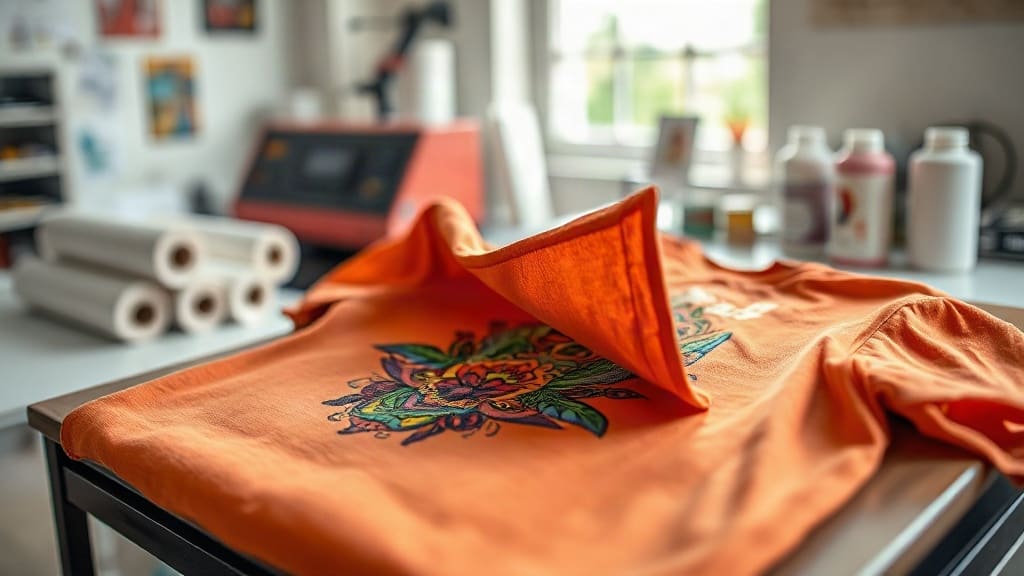
If you're looking for a printing method that combines the softness of screen printing with the detail of digital printing, DTF transfers are your answer. I remember the first time I tried them in my small studio; the colors popped like nothing I'd seen before, and the process was surprisingly straightforward. DTF (Direct to Film) printing has revolutionized custom apparel, making it accessible to hobbyists and businesses alike. In this guide, I'll walk you through everything you need to know to create stunning, durable prints from home or in a small shop.
What Are DTF Transfers?
Direct to Film (DTF) is a printing technique where a design is printed onto a special PET film using a DTF printer and pigment inks. A layer of adhesive powder is applied to the wet ink, then melted to create a strong bond. The result is a transfer that can be pressed onto almost any fabric using a heat press. Unlike traditional heat transfer vinyl (HTV), DTF allows for intricate, full-color designs without weeding, and it works on both light and dark garments.
How Does the DTF Process Work?
- Design: Create your artwork in any design software, ensuring it's in the correct size and resolution (at least 300 DPI).
- Print: Print the design onto the film using a DTF printer with CMYK+White inks. The white layer acts as an underbase for vibrant colors on dark fabrics.
- Adhesive Powder: While the ink is still wet, coat the print with DTF adhesive powder (hot melt powder).
- Cure: Shake off excess powder and melt it using a heat source (often an oven or heat press) at around 160°C for a couple of minutes.
- Press: Place the film onto your garment, cover with a Teflon sheet or parchment paper, and press at 165°C for about 15 seconds with firm pressure.
- Peel: Peel the film away while warm or cold, depending on the film type, and your transfer is done.
Why Choose DTF Transfers?
There are several reasons why DTF transfers have become a go-to method for custom printing. First, they offer incredible color vibrancy and detail, making them perfect for complex logos, photographs, and gradients. Second, the transfers are flexible and soft on the fabric, unlike some thick vinyls that crack and peel. Third, you can print multiple copies quickly and store them for later use, which is ideal for on-demand orders.
DTF vs. Other Methods
- DTF vs. Screen Printing: Screen printing is cost-effective for large bulk orders but requires significant setup and is limited in color gradients. DTF is perfect for small to medium runs and offers full-color without setup fees.
- DTF vs. HTV: HTV is great for simple, one-color designs but requires weeding and can't produce photographic images. DTF eliminates weeding and supports unlimited colors.
- DTF vs. Sublimation: Sublimation only works on polyester fabrics and requires special coatings. DTF works on cotton, polyester, blends, and even leather.
Essential Materials for DTF Printing
To get started with DTF transfers, you'll need a few specific supplies. Investing in quality materials is crucial for achieving professional results. Here's what you'll need:
- DTF printer (usually an Epson or other inkjet printer converted for DTF, or a dedicated model)
- DTF inks (CMYK + white), pigment-based and water-based
- PET film with a coating designed for DTF
- Hot melt adhesive powder (coarse or fine depending on the fabric)
- Heat press (or a clamshell press; a conveyor dryer if you're doing bulk)
- Teflon sheets or parchment paper
- Shaker and curing tray (for powder application)
Choosing the Right Film and Powder
Not all films and powders are created equal. Look for films that release easily and have a good matte finish to prevent sticking. The adhesive powder should be fine for soft fabrics like jersey and coarse for heavier materials like denim. Always test a small sample before committing to a batch.
Step-by-Step Guide to Making Your First DTF Transfer
Creating your first DTF transfer is an exciting moment. Let me share a practical example from my own experience. I once had a client who wanted 50 t-shirts with a detailed watercolor design. Using DTF, I was able to produce each shirt with vibrant colors that looked painted on, and the shirts remained soft after washing. Here's how you can do it too:
- Set Up Your Workspace: Ensure your printer is calibrated, and you have enough ink and powder.
- Print Your Design: Mirror the design (for light transfer) or keep it normal (for dark transfer if the film is flipped). Print with white ink as the bottom layer for dark fabrics.
- Apply Powder Immediately: While the ink is still wet, pour powder over the print, covering it completely. Shake off excess, and make sure the powder sticks evenly.
- Melt and Cure: Place the film in a curing oven or use a heat press set at 160°C for 2 minutes. The powder should turn into a uniform adhesive layer.
- Pre-press Your Garment: Pre-press the shirt for 3 seconds to remove wrinkles and moisture.
- Place and Press: Lay the film on the shirt, cover with Teflon, and press at 165°C for 15 seconds with medium to firm pressure.
- Peel and Enjoy: Peel the film off while it's still warm (but not hot) or cold, depending on the film's instructions. Your transfer is ready.
Tips for Vibrant, Long-Lasting DTF Prints
Getting great results with DTF transfers requires attention to detail. Over the years, I've learned several tricks that make a big difference in print quality and durability. Here are my top tips:
- Maintain Your Printer: Clean the printhead regularly to prevent clogging, and use high-quality inks that are compatible with your printer.
- Use the Right Powder: Too little powder results in poor adhesion; too much makes the transfer stiff and cracky. Aim for a fine, even layer.
- Optimize Pressing: The temperature, time, and pressure must be correct. Too low and the adhesive won't bond, too high and the film may melt or scorch.
- Test Before Full Production: Always do a test run on the actual fabric type you'll be using to ensure compatibility.
- Care Instructions: Advise your customers to wash inside out in cold water and avoid tumble drying on high heat. This extends the life of the print.
Common Problems and How to Fix Them
Even experienced printers encounter issues. Here are some common problems with DTF transfers and their solutions:
- Poor Adhesion: Increase press time or temperature slightly, or add more powder.
- Colors Looking Dull: Ensure you have a strong white underbase, and increase the ink density in your print settings.
- Cracking After a Few Washes: Use a finer powder for stretchy fabrics, and ensure the press pressure is even.
- Film Sticking to Garment: Use a Teflon sheet and ensure the film is fully cured before pressing.
- Faded Prints: Check your ink quality and make sure you're using the correct curing time for the powder.
DTF Transfers for Business
If you're thinking of turning DTF transfers into a business, you're on the right track. The demand for custom apparel is huge, and DTF offers a low-cost entry point. You can start with a small setup and scale as orders grow. Many successful businesses sell pre-printed DTF transfers online, allowing others to press them without needing a printer. This model can be very profitable, especially if you create unique designs.
How to Price Your DTF Products
Pricing is tricky. Consider the cost of materials (film, ink, powder, garment), your time (design, printing, pressing), and overhead (machine maintenance, electricity). A common rule of thumb is to multiply the cost by 3 to 5, depending on your market. Always check competitors' prices but don't undersell yourself.
Frequently Asked Questions
How long do DTF transfers last?
When applied correctly, DTF transfers can last for 50 washes or more without significant fading or cracking. The key is proper curing and pressing, as well as following care instructions. With high-quality materials and correct technique, prints remain vibrant and flexible for years.
Can DTF transfers be used on any fabric?
Yes, DTF transfers work on a variety of fabrics, including cotton, polyester, blends, nylon, and even leather. However, the fabric's composition can affect the transfer's durability. For example, 100% cotton is ideal, while high-polyester fabrics may require a lower press temperature to avoid melting. Always test on a small area first.
What is the minimum quantity for DTF printing?
There is no minimum quantity for DTF printing. You can print a single transfer if you want, which makes it perfect for custom orders or personal projects. Unlike screen printing, there are no setup costs, so it's economical for one-off or small runs.
Do I need a special printer for DTF transfers?
Yes, you need a printer that can handle DTF inks and films. You can convert some inkjet printers, like the Epson EcoTank, into DTF printers by using special inks and a white ink circulation system. However, dedicated DTF printers are now available and offer easier setup and better reliability.
What is the difference between DTF and DTG?
DTF (Direct to Film) and DTG (Direct to Garment) are both digital printing methods, but DTF prints onto a film and then transfers to the garment, while DTG prints directly onto the garment. DTF is often preferred because it offers faster turnaround for multiple items and works on a wider range of fabrics, including dark colors, without pre-treatment.
Conclusion
DTF transfers have opened up a world of possibilities for custom printing. Whether you're a hobbyist making shirts for friends or a business owner looking to expand your offerings, mastering this technique can set you apart. I've seen firsthand how this method can bring intricate designs to life with stunning color and durability. So, gather your materials, practice on some test fabrics, and soon you'll be producing professional-quality prints that you're proud of. If you have any questions or want to share your experiences, feel free to leave a comment below. Happy printing!