
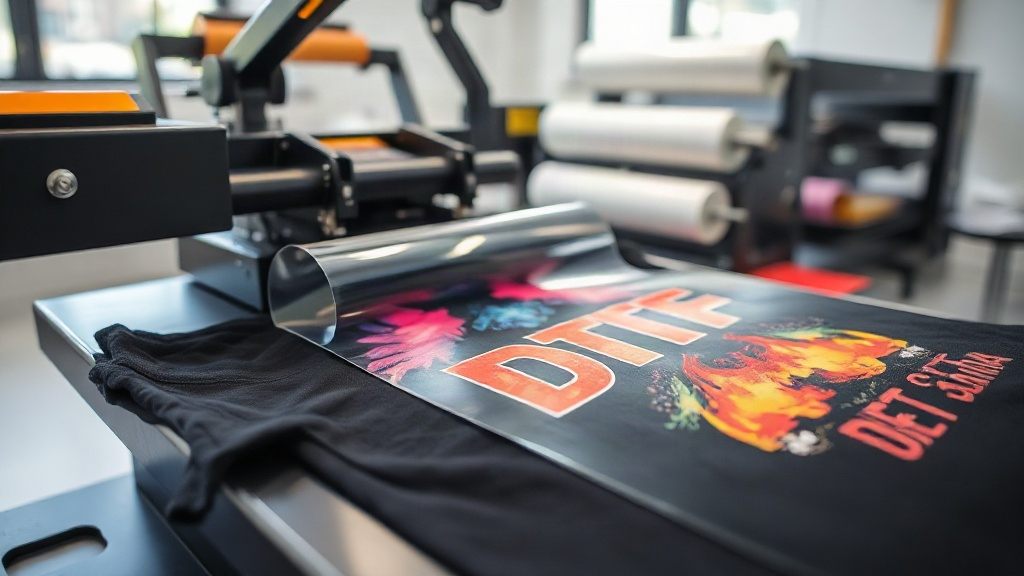
Imagine pressing a vibrant, full-color design onto a cotton t-shirt in under a minute, with no weeding, no cutting, and no color limitations. That's the promise of DTF transfers, a digital printing technology that has taken the garment decoration world by storm. Whether you're a small business owner, a DIY enthusiast, or just curious about custom apparel, understanding DTF transfers can open up a world of creative possibilities. In this guide, we'll walk you through everything you need to know: from the science behind the film to the step-by-step application process, plus troubleshooting tips and answers to common questions. By the end, you'll be ready to produce professional-looking prints that withstand the wash and wear of everyday life.
What Are DTF Transfers?
DTF stands for Direct to Film. Unlike DTG (Direct to Garment) or screen printing, DTF involves printing your design onto a special PET film using a modified inkjet printer with pigment-based inks. The printer lays down a layer of white ink as a base, followed by CMYK colors, and then a powdered hot-melt adhesive is applied to the wet ink. After curing, you have a flexible, transferable decal that can be heat-pressed onto almost any fabric. The magic lies in that adhesive powder: it melts under heat, bonding the ink to the fabric fibers. The result is a soft, stretchable print that feels like part of the garment. Because the design is printed on film first, you can use DTF on cotton, polyester, blends, and even treated nylon or leather. No pre-treatment is required, and the color vibrancy is exceptional, even on dark garments.
Why Choose DTF Transfers Over Other Methods?
If you're comparing decoration methods, DTF offers a unique mix of advantages. Here are the key benefits:
- No color limits: Unlike screen printing, DTF can reproduce full-color photographs and gradients without extra cost per color.
- Works on many fabrics: Cotton, polyester, blends, and more. You don't need different inks or pre-treatments.
- Durability: When applied correctly, DTF prints resist cracking, peeling, and fading for 50+ washes.
- Low setup cost: No screens or plates; just print and press. Ideal for short runs and one-offs.
- Soft feel: The prints are thin and flexible, not stiff like some vinyl transfers.
- Fast turnaround: From design to finished product in minutes, perfect for custom orders.
That said, DTF isn't perfect for every scenario. For very large orders, screen printing may be more cost-effective. And if you need a super-soft hand on performance wear, DTG or sublimation might edge it out. But for versatility and ease, DTF is hard to beat.
How to Apply DTF Transfers: Step-by-Step
Applying a DTF transfer is straightforward, but following the right steps ensures a professional, long-lasting result. Here's what you need:
Tools and Materials
- Heat press (or iron with no steam)
- DTF transfer film with your design
- Garment (pre-washed if cotton)
- Parchment paper or Teflon sheet
- Thermal tape (optional)
Step 1: Prepare Your Workspace
Set your heat press to the recommended temperature and pressure. For most DTF transfers, use 325°F (160°C) and medium pressure (around 4-6 on a scale of 10). If you're using an iron, set it to the highest dry setting (no steam). Pre-press the garment for 5-10 seconds to remove moisture and wrinkles. This step is crucial for proper adhesion.
Step 2: Position the Transfer
Place the DTF transfer face-down onto the garment. The design should be touching the fabric, with the film backing on top. If your transfer has a white back, that's the adhesive side. Use thermal tape to hold it in place if needed. For precise placement, measure from the collar or use a template.
Step 3: Press
Apply heat and pressure for 10-15 seconds. Do not slide the press; just close it and let it do the work. If you're using an iron, press firmly for 20-30 seconds, moving in small circles to distribute heat evenly. Avoid over-pressing, which can cause the ink to spread or the film to wrinkle.
Step 4: Peel
After pressing, wait a few seconds for the transfer to cool slightly. Then, peel the film off in a smooth, steady motion. For a matte finish, peel while hot; for a glossy finish, wait until it's completely cool. If any part of the design lifts, lay the film back down and press again for 5 seconds.
Step 5: Post-Press (Optional)
For extra durability, cover the printed area with parchment paper and press again for 5-10 seconds. This helps the adhesive fully bond and smooths out any texture. Then, you're done! Allow the garment to cool before wearing or washing.
Common Mistakes and How to Avoid Them
Even with a simple process, things can go wrong. Here are frequent issues and their fixes:
- Peeling after wash: Usually caused by insufficient pressure, temperature, or time. Increase one variable at a time and test.
- Cracking: Often from stretching the garment while hot or using too much pressure. Let it cool completely before stretching.
- Dull colors: May be due to expired film or incorrect printer settings. Always use fresh film and follow the ink manufacturer's profile.
- Adhesive residue on film: If the film feels sticky after peeling, you pressed too long or too hot. Reduce time or temperature.
- Design not sticking: Ensure the garment is clean and dry. Fabric softener can interfere with adhesion, so wash new garments without softener before printing.
Practice on scrap fabric to dial in your press settings. Every heat press behaves slightly differently, so a few test runs will save you frustration.
DTF Transfers vs. Other Printing Methods
How does DTF stack up against DTG, screen printing, and vinyl? Here's a quick comparison:
- DTG: Best for 100% cotton, but requires pre-treatment and can be less vibrant on dark colors. DTF works on more fabrics and has stronger whites.
- Screen printing: Cheapest for large orders, but setup costs are high and each color adds cost. DTF is more flexible for small batches and complex designs.
- Vinyl (HTV): Great for simple, single-color designs, but weeding is time-consuming and multilayer designs can be bulky. DTF handles intricate details and full-color images with ease.
- Sublimation: Only works on polyester and requires light-colored fabric. DTF adheres to cotton and dark colors.
Ultimately, the best method depends on your fabric, design, and order size. DTF shines for its versatility and low barrier to entry.
Tips for Long-Lasting DTF Prints
To keep your prints looking fresh, follow these care instructions:
- Wait 24 hours before first wash.
- Turn garment inside out.
- Machine wash cold, gentle cycle.
- Do not use bleach or fabric softener.
- Tumble dry low or hang dry.
- Iron inside out, never directly on the print.
With proper care, DTF transfers can outlast the garment itself.
Frequently Asked Questions
Can I use DTF transfers on dark colors?
Absolutely. DTF transfers include a white ink base that makes colors pop on dark fabrics. The white layer acts as a primer, so you get vibrant results even on black or navy.
Do I need a special printer for DTF?
Yes, you need a DTF printer that uses pigment inks and can handle PET film. Many converted Epson printers work, but dedicated DTF printers are available and offer better reliability.
How long do DTF transfers last?
With proper application and care, DTF prints can last 50+ washes without fading, cracking, or peeling. The key is following the correct temperature, pressure, and time.
Can I stretch the garment after applying DTF?
Yes, DTF prints are flexible and stretch with the fabric. However, avoid stretching while the print is still hot, as it can cause distortion. Let it cool completely first.
What fabrics work best with DTF?
DTF works on cotton, polyester, blends, and even some synthetic fabrics like nylon (with a bonding agent). It's not recommended for fabrics with a heavy water-repellent coating.