
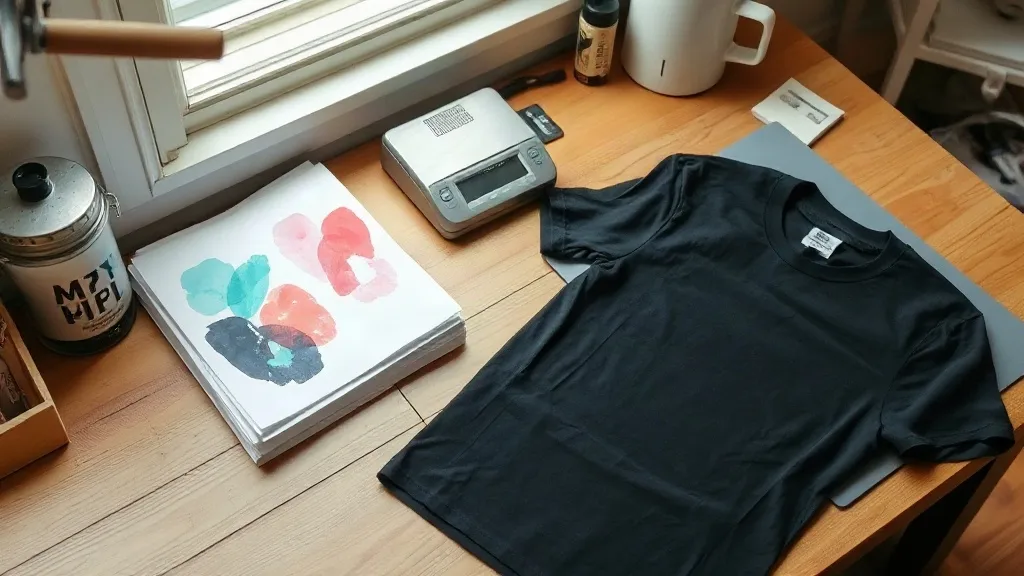
Most people who order dtf transfers for the first time judge the whole process by the first shirt they peel. That single peel is a poor teacher. It hides the variables that decide whether the second, twentieth, and two-hundredth shirt come out the same. After running a modest shop for a few years, I have learned that dtf is less about the printer and more about discipline: consistent film, consistent powder, consistent pressure, consistent cooling. Get those four in line and the process stops being fussy.
This guide is written for the person standing at the heat press, not for someone shopping for a wide-format machine. It covers what actually changes results, where money quietly leaks out, and how to troubleshoot without guessing.
What DTF Actually Does Differently
Direct-to-film printing flips the usual order of operations. Instead of putting ink straight onto fabric, you print a mirrored image onto a coated film, dust it with hot-melt adhesive powder while the ink is still wet, cure the powder, and then transfer the whole sandwich onto a garment with heat and pressure. The adhesive is what bonds to the fabric, and the ink layer sits on top of it.
That structure explains most of the behavior people find surprising. Because the adhesive does the bonding, the fabric does not need a special coating or a high polyester content. Cotton, blends, canvas, and even some nylon hold a transfer well, which is the main reason shops that used to keep separate inventories for vinyl and screen print can now stock one blank and decorate it several ways.
The trade-off is hand feel. A DTF print has a thin but real film layer, so it feels slightly rubbery compared with a plastisol print and noticeably different from dye sublimation. On a heavyweight tee the difference is barely worth mentioning. On a featherweight tri-blend it is obvious, and customers who care about drape will notice.
Where the film layer matters most
Small details add up. A print that crosses a side seam, a pocket edge, or a thick collar will behave differently than one centered on a flat panel, because the film has to stretch or fold over an uneven surface. If a design runs over a seam, expect the edges to lift sooner in the wash unless you press that area a second time with a little extra dwell.
Film, Powder, and the Parts Nobody Explains
Transfer film comes in two broad families: cold peel and hot peel. Cold peel film needs the sheet to cool completely before you remove the carrier, which slows production but tends to give a softer, more matte finish. Hot peel film lets you strip the carrier while the transfer is still warm, which is faster and better suited to volume work. Neither is superior. They are different tools, and mixing them in one order is a reliable way to ruin a batch.
Powder is the other half of the equation, and it is where I see the most avoidable waste. Hot-melt adhesive powder comes in different mesh sizes. A finer powder melts into a smoother, thinner layer and suits detailed artwork. A coarser powder lays down more adhesive and grips textured fabrics better, but it leaves a heavier feel. The powder has to be applied while the ink is still tacky, shaken off evenly, and then cured until it turns from a dull dust into a slightly glossy, fully melted skin.
- Under-cured powder looks chalky and washes out within a few cycles.
- Over-cured powder glazes over and refuses to bond, so the transfer peels in sheets.
- Uneven powder leaves patchy adhesion that fails at the edges first.
A cheap kitchen sieve works for small runs, but a proper powder shaker with a fine screen pays for itself quickly in consistency. Keep the powder in a sealed container. Humidity clumps it, and clumped powder never lays down evenly no matter how carefully you shake.
Press Settings That Actually Hold Up
Every film manufacturer publishes a temperature, a pressure, and a dwell time. Those numbers are a starting point, not a law. Your press may read five degrees off. Your platen may be worn. Your garment may be thicker than the one in the test lab. The only reliable approach is to lock in a baseline and change one variable at a time.
My working baseline for most cotton and cotton-blend tees sits around 150 to 160 degrees Celsius with medium pressure and a dwell of eight to twelve seconds, followed by a short second press after the carrier comes off. That second press matters more than most tutorials admit. It re-melts the adhesive into the fabric fibers and smooths the film, and it is the difference between a print that survives thirty washes and one that starts curling at the corners after five.
A quick pressure check
Place a strip of transfer film adhesive-side down on a scrap of the actual garment and press it with no ink. Peel it after cooling. If it comes away cleanly with no residue, your pressure is too light. If the fabric is visibly flattened and shiny, you are pressing too hard and the film will spread at the edges. The sweet spot leaves a faint, even imprint.
Cooling is not optional
Pulling a cold-peel carrier too early is the single most common beginner error. The adhesive is still soft, and the carrier takes a thin layer of it away. Let the sheet rest until it is comfortably warm to the touch, not hot. On a busy day, a second platen or a simple wire rack keeps transfers moving without anyone rushing the peel.
Choosing Garments That Reward the Process
DTF is forgiving, but it is not indifferent. Tightly woven cotton holds detail beautifully. Open weaves and heavily textured fabrics can let the adhesive sink in, which softens edges and reduces the perceived sharpness of fine lines and small text. Very stretchy fabrics require a transfer sized with a little less coverage near seams, because the film will not stretch as far as the garment.
Water-repellent finishes are a separate problem. A jacket treated with a durable water repellent coating will resist the adhesive entirely, and no amount of extra dwell time will fix it. A quick pre-press of the area for a few seconds can sometimes drive off surface moisture and improve grip, but if the finish is baked in, the honest answer is to choose a different garment.
Waste, Cost, and the Numbers Behind a Print
Material cost per transfer is easy to calculate and almost never the real number. The real number includes misprints, wasted powder, ruined blanks, and the labor spent redoing a job. In my experience the biggest hidden cost is gang sheet layout: packing multiple designs onto one sheet saves film, but a single layout error can waste an entire sheet and an hour of setup.
Two habits cut that waste noticeably. First, keep a scrap garment of each fabric type you sell and test every new film or powder batch on it before running a customer order. Second, log your settings per fabric and per film brand in a notebook or spreadsheet. Memory is unreliable after a long day, and a written record turns a frustrating mystery into a two-minute fix.
When to outsource instead of print
Not every shop should own a DTF printer. If your volume is sporadic, if you work from a small space, or if you would rather spend your hours on design and customer service, ordering finished transfers from a supplier is a sound decision. Many people searching for dtf transfers near me are in exactly that position: they want the decoration method without the maintenance, the ink inventory, and the daily nozzle checks. Buying gang sheets and pressing them in-house gives you most of the flexibility with a fraction of the overhead.
Common Failures and What They Usually Mean
Troubleshooting gets much faster once you stop treating every defect as a new mystery. Most problems trace back to four causes: moisture, temperature, pressure, or time.
- Edges lift after washing. Usually insufficient second press or too little pressure at the perimeter.
- Print feels stiff and plastic-like. Often too much powder, or a coarse powder used on fine detail work.
- Color looks dull right after pressing. Frequently over-pressing, which dulls the ink surface. A brief re-press with a cover sheet can restore sheen.
- Transfer will not release from the carrier at all. Almost always under-cured powder or a press running cooler than the display claims.
Before changing any setting, verify the boring things. Is the garment dry? Has it been sitting in a humid room? Is the platen clean? A surprising share of failed transfers are solved by wiping the platen and pre-pressing the garment for three seconds to remove moisture.
Frequently Asked Questions
How many washes should a DTF transfer survive?
A properly pressed transfer on a suitable fabric typically holds up for dozens of wash cycles. Longevity depends more on wash habits than on the transfer itself. Turning the garment inside out, using cold water, and skipping the dryer's highest setting will extend life considerably.
Can I use DTF on dark and light shirts with the same sheet?
Yes. Unlike some other transfer methods, DTF prints include a white ink layer, so the same design works on black, navy, and white garments without reformatting. What changes is the visual contrast, not the process.
Do I need a special heat press for DTF?
Any press that holds consistent temperature and even pressure will work. A clamshell press is fine, though a swing-away press makes it easier to avoid accidentally touching the transfer while loading. What matters far more than the press model is calibration.
Why does my transfer look cracked after the first wash?
Cracking usually points to a stretch mismatch. If the design covers a large area of a very stretchy fabric, the film cannot follow the garment. Reducing the print size, avoiding seams, or switching to a more stable blank solves most cases.
Is it worth printing my own transfers instead of ordering them?
It depends on volume and temperament. If you print most days and enjoy the technical side, in-house production gives you fast turnaround. If your orders arrive in bursts, buying ready-made sheets keeps your capital free and your weekends intact.
Getting Consistent Results Without the Guesswork
The shops that produce reliable DTF work are rarely the ones with the newest equipment. They are the ones with a written baseline, a scrap garment for testing, and the patience to change one variable at a time. Film and powder are consumables, and consumables drift between batches, so a five-minute test press before a customer order is not wasted time. It is the cheapest insurance in the shop.
Start with a small, controlled setup: one film type, one powder, one press setting per fabric. Once a job runs clean three times in a row, you have a baseline worth defending. Everything after that is refinement, and refinement is far easier when you already know what good looks like.