
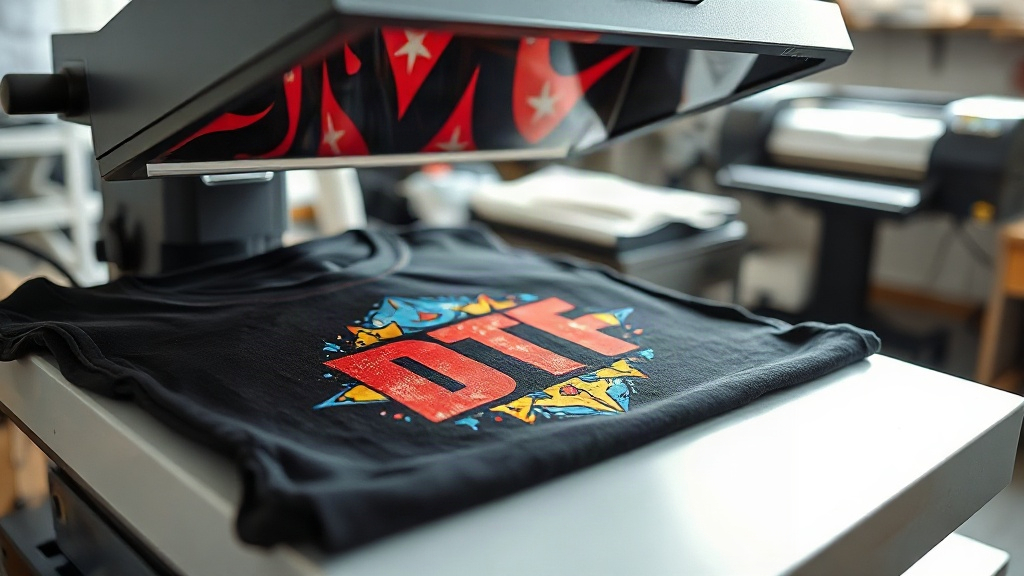
Imagine pressing a vibrant, full-color design onto a dark cotton t-shirt without worrying about color limitations or complex setup. That's the promise of DTF transfers, a technology that has rapidly become a favorite among custom apparel creators. Unlike traditional screen printing or vinyl cutting, DTF transfers open up a world of possibilities for small businesses, hobbyists, and anyone who wants to create professional-looking garments with minimal equipment. In this guide, we'll walk you through everything you need to know about DTF transfers, from the science behind them to practical application tips and how they stack up against other decoration methods.
What Are DTF Transfers?
DTF stands for Direct to Film. It's a printing method where your design is printed onto a special PET film using a DTF printer. The printer lays down a layer of white ink, followed by CMYK colors, and then a powder adhesive is applied to the wet ink. After curing, you have a flexible, transferable design that can be stored and used later. When you're ready to apply it, you simply heat press it onto your garment. The adhesive melts and bonds the ink to the fabric, creating a durable, stretchable print.
The key difference between DTF and other transfer methods like DTG (Direct to Garment) or sublimation is the film. DTF transfers can be applied to almost any fabric, including cotton, polyester, blends, and even treated nylon. They don't require pre-treatment, and they work exceptionally well on dark colors because the white ink layer provides a bright base for the colors above it.
How DTF Transfers Are Made
Understanding the production process helps you appreciate why DTF transfers perform so well. Here's a step-by-step look at how they're created:
- Design Preparation: Your artwork is prepared in RIP software, which handles color management and ensures the white ink layer is generated correctly. The design is mirrored so it reads correctly when pressed.
- Printing: A DTF printer prints the mirrored design onto a sheet of PET film. The printer first lays down white ink, then the color inks on top. This order is crucial for opacity on dark fabrics.
- Powdering: While the ink is still wet, a fine thermoplastic powder is applied evenly over the printed area. The powder sticks to the wet ink and will later become the adhesive.
- Curing: The film passes through a curing oven or under a heat source to melt the powder and evaporate any moisture. This step fuses the powder into a solid adhesive layer.
- Finished Transfer: Once cooled, the transfer is ready to use. It can be stored for months in a cool, dry place.
This process allows for intricate details, gradients, and photographic images that would be difficult or impossible with other methods. Plus, because the transfers are printed ahead of time, you can offer rapid turnaround on custom orders.
Why Choose DTF Transfers?
There are several compelling reasons why DTF transfers have gained such popularity. Let's break down the main advantages:
- No color limitations: Unlike vinyl, which requires layering and can't handle complex gradients, DTF prints any color, including photo-realistic images.
- Works on multiple fabrics: Cotton, polyester, blends, leather, and more. You're not limited to 100% cotton or light colors.
- No weeding: With vinyl, you have to cut and weed the design by hand. DTF transfers come ready to press, saving hours of labor.
- Durable and stretchable: When applied correctly, DTF prints withstand repeated washing and stretching without cracking or fading.
- Cost-effective for short runs: Screen printing requires setup costs per color, making short runs expensive. DTF transfers are economical even for single items.
These benefits make DTF transfers ideal for small businesses, personalized gifts, team uniforms, and anyone who wants to experiment with custom apparel without a large investment.
DTF vs. Other Decoration Methods
How do DTF transfers compare to the more established methods? Let's look at a few key comparisons.
DTF vs. DTG
DTG (Direct to Garment) prints directly onto the fabric, which means no film or transfer step. It's great for 100% cotton and can produce soft prints. However, DTG requires pre-treatment, and the colors can appear duller on dark shirts because the white ink isn't as opaque. DTF transfers, on the other hand, produce vibrant colors on any fabric and don't require pre-treatment. DTF also allows you to print on demand and store transfers, while DTG is a one-shot process.
DTF vs. Vinyl
Heat transfer vinyl (HTV) is a popular choice for simple designs and text. It's durable and has a matte or glossy finish. But HTV requires weeding, and each color must be cut and layered separately. Complex designs with many colors become impractical. DTF transfers eliminate weeding and can handle unlimited colors in one go. The feel of DTF is also softer than layered vinyl, especially for large designs.
DTF vs. Screen Printing
Screen printing is the gold standard for large orders because the cost per print drops significantly with volume. However, it requires screens for each color and setup time. For small batches or designs with many colors, screen printing is costly and time-consuming. DTF transfers shine in short runs and can be produced quickly without any setup. The durability of DTF is comparable to screen printing when applied properly.
How to Apply DTF Transfers
Applying DTF transfers is straightforward, but following the right steps ensures a long-lasting result. Here's a step-by-step guide:
- Preheat your heat press: Set the temperature to around 325°F (160°C) for cotton and 300°F (150°C) for polyester. Preheat for a few seconds to remove moisture from the fabric.
- Position the transfer: Place the DTF transfer on the garment with the printed side facing up. The film should be on top.
- Press: Apply medium to firm pressure for 10-15 seconds. The exact time depends on your press and fabric. For best results, use a heat press rather than an iron, as consistent pressure is key.
- Peel: Wait a few seconds for the transfer to cool slightly, then peel the film off in a smooth, even motion. If any part of the design lifts, press again for a few more seconds.
- Post-press (optional): For extra durability, you can cover the design with a Teflon sheet or parchment paper and press again for 5-10 seconds. This helps the adhesive fully bond.
Always test on a scrap piece of fabric first to dial in your settings. Different fabrics and transfer brands may require slight adjustments.
Common Challenges and How to Overcome Them
Even with a straightforward process, you might encounter some issues. Here are a few common problems and their solutions:
- Design peels off after washing: This usually means insufficient pressure or time during application. Increase pressure and ensure you're pressing for the full recommended time. Also, wash the garment inside out in cold water and avoid fabric softener.
- Colors look dull: If the white layer isn't opaque enough, colors can appear muted. Make sure your printer is using enough white ink and that the transfer is applied to a smooth surface.
- Transfer doesn't stick in corners: This can happen if the heat press doesn't apply even pressure. Check your press for cold spots and consider using a pressing pillow for uneven areas like seams.
- Film is difficult to peel: If the transfer is too hot, the adhesive may be sticky and hard to peel. Wait a few seconds for it to cool before peeling.
With a bit of practice, you'll be able to troubleshoot these issues quickly and achieve professional results every time.
Choosing the Right DTF Supplies
The quality of your DTF transfers depends heavily on the supplies you use. Here are key factors to consider:
- Film: Not all PET films are created equal. Look for films designed specifically for DTF, as they have the right coating for ink adhesion and release.
- Ink: Use high-quality DTF inks that are formulated for your printer. Cheap inks can clog printheads and produce poor color vibrancy.
- Powder: The adhesive powder should be fine and consistent. Coarse powder can lead to uneven adhesion and a rough feel.
- Printer: If you're printing in-house, invest in a dedicated DTF printer. Converted inkjet printers can work but may require more maintenance.
For those who prefer to buy ready-made transfers, choose a reputable supplier who uses quality materials and provides clear instructions.
Frequently Asked Questions About DTF Transfers
How long do DTF transfers last?
When applied correctly and cared for properly, DTF transfers can last as long as the garment itself. They withstand dozens of washes without fading or cracking. To maximize longevity, wash inside out in cold water and tumble dry on low or hang dry.
Can I use DTF transfers on polyester?
Yes, DTF transfers work on polyester and polyester blends. However, polyester requires a lower pressing temperature (around 300°F) to avoid scorching or dye migration. Always test first.
Do I need a special printer for DTF?
You can use a dedicated DTF printer or convert a standard inkjet printer with DTF inks and film. Dedicated printers are recommended for consistent results and less maintenance.
What is the difference between DTF and DTG?
DTF involves printing onto a film and then transferring to the garment, while DTG prints directly onto the garment. DTF works on more fabrics and produces brighter colors on dark shirts, while DTG is limited to cotton and requires pre-treatment.
Can I stretch DTF transfers?
Yes, DTF transfers are flexible and can stretch with the fabric without cracking, provided they are applied correctly. This makes them ideal for athletic wear and stretchy materials.